


Step 1. Understanding shoppers and their needs
There are many retail formats all with different needs (even from the same category!), take for example the difference between convenience and supermarket shoppers, while supermarkets tend to attract planned purchases where shoppers generally spend more time choosing products (hence price and range is important), the convenience shopper won't generally spend a lot of time browsing a category but will expect to see major brands, so the same category could look very different in the two types of retailers.
Therefore assortment planning (or ranging) can be a difficult task without the right methodology and understanding of who your shoppers are and what their needs are. There are various methods of sourcing this information but data from within your own organisation is always a great starting place. Talking to your retailer partners will help you gain insight into your target shoppers. If you don’t understand your customers’ expectations, how will your planogram meet their needs?
Step 2. Pre-planogram checks
Although the previous steps will define what the range and category segmentation should be, you will still need to refine what gets included on the planogram. To do this you will first need to understand what space and what type of fixtures there are, this will determine the maximum sku count on the planogram. When it comes to shelf space, the more space you have to display a category the bigger the product range you can offer to shoppers. And a wider selection can typically satisfy more consumers. But too much range can also lead to confusion in a category so a balanced approach i.e. premium brand, mid range brand and value brand. The Epos data or syndicated market data will also need to match the specific category or retailer type to ensure you maximise the opportunity.
Step 3. Determining the right product assortment
Start by analysing consumer behaviour and the different thought process a customer goes through when shopping a category, this is often called the ‘consumer decision tree’
Take the cereal category, imagine the following; Mum is the primary shopper and she is shopping for her family, dad likes healthy cereals but must be high in energy, mum likes tasty cereals not too high in calories, junior must have a cartoon character on the box.
By adopting this consumer-centric approach in the planogram process, you can develop strategies that will better reach the individual shoppers needs like separating the sub categories into groups that make sense, in this case mum i.e. kid’s cereals, healthy cereals, porridge, low cal etc., as opposed to driving a strategy purely based on profitability, brand or margin.
This process will determine the placement and flow of the different sub-categories within the category/planogram, it will also determine which key brands need to be grouped together to fill the need (the shopper need-state).
Step 4. Determining the merchandising strategy
Before starting any new planogram project, you will first need to understand the different retailer strategies which are based on the retailers objective for the category; e.g.
Objective = Drive more profit
If you wanted to increase gross profit, you may want to place products with higher margin at eye level and give them some extra space or position them next to the brand leader to drive impulse purchase by offering the shopper an alternative to the brand leader (private label often fills this need), or include more premium products from the range that can lead to higher profits.
Objective = Attract more premium customers
M&S seem to achieve this really well, if you look at the range they carry you will see many premium priced or unique quality products in their range that attract shoppers who like something different, but beware this may not be suitable for your target shopper types or those on tight budgets.
Objective = Create a value image
Price and value are key to these types of planograms, private label or value brands feature very highly and usually get the best share of the space.
Objective = Reduce merchandising time and maximise rate of sale
Sometimes retailers have a limited time allotted to restocking planograms or want to ensure their time is used more efficiently, by allocating more space to faster moving skus or allocating facings based on case merchandising you can dramatically reduce the restocking time but this will depend on space available as you will need to strike a balance between the range and space available, it will also be influenced by promotional skus which will require sufficient space to reduce potential off-sales and drive more purchases.
Suppliers own objectives/strategy
Of course there can also be a supplier merchandising strategy which includes things like brand blocking or core range priority/placement but these can be difficult to get approved by savvy retailers. Although the objectives can be very different by category or by retailer a balanced approach always works best and the closer you get to the shopper mission the better for all parties.
Step 5. Merchandising principles
Make sure your merchandising principles are correct to ensure products are placed in the right place. For example, include enough product facings on the shelf for faster-moving products to reduce out of stocks. Other examples may include eye level positioning of profit generators (leading brands and best sellers) or positioning of retailer brands (private label) next to the brand leader. Correct merchandising principles will ensure that you are always placing products on your shelves in a way that is visually appealing, logical and most profitable. The merchandising principles will be heavily influenced by the merchandising strategy.
Step 6. Category up-selling and planogram aesthetics
Retail packaging is designed for maximum consumer impact and for helping products move off the shelf, manufacturers spend a great deal of time, research and money on branding and packaging, consumers identify with the brands they know and are familiar with so when they see them on shelf they know they are in the right place, we call these products category magnets, you should use these to attract shoppers into the category, position other products that fit with your planogram strategy next to them, this will drive more impulse sales or lead to up-selling.
Step 7. Analyse your planogram during the process
Your planogram is not just a pretty picture so analyse it before, during and after the planogram process.
Before: Analyse your real-o-grams (real-o-gram = how the fixture looks in store before any changes).
During: Continuously monitor and review the impact of your changes during the planogram creation process.
After: Include a proper deck of reports to justify space allocations and reinforce the opportunity that lies in implementing your recommended planogram.
Access to Data is a must; It can be very difficult to perform analysis on a planogram if you don't have access to retailer epos or market data so make it a priority in sourcing this information before starting any major planogram project, retailers rarely share this information outside their category partners but access to market data is more accessible. Ensure the data best matches your category and retailer type, there's no point trying to complete a project with the wrong type of information as it will lead to incorrect assumptions and may discredit the results.
Step 8. Review - planogramming is a continuous process
Planogramming is not a once off process, events can change your planogram, such as new products coming into the market, items becoming discontinued by the manufacturer, or poorer performing products taking up too much shelf space. However, you will typically only make minor adjustments throughout the year, once you get the main category right, it's likely you won’t see dramatic changes during the year. Ultimately, it’s up to the retailer to analyse sales data regularly to confirm the planogram still meets the needs of their shoppers but there is room to influence this process.
Finally, commit to the process right through to the end and make sure your planograms are implemented, remember the majority of planogram project failures are caused by the lack of importance being put on the implementation stage. If you're finding it difficult to ensure shelves are being packed according to your planograms, then consider using a planogram tool to help control the planogram implementation and communication process.
Planogram analysis on existing retailer planograms
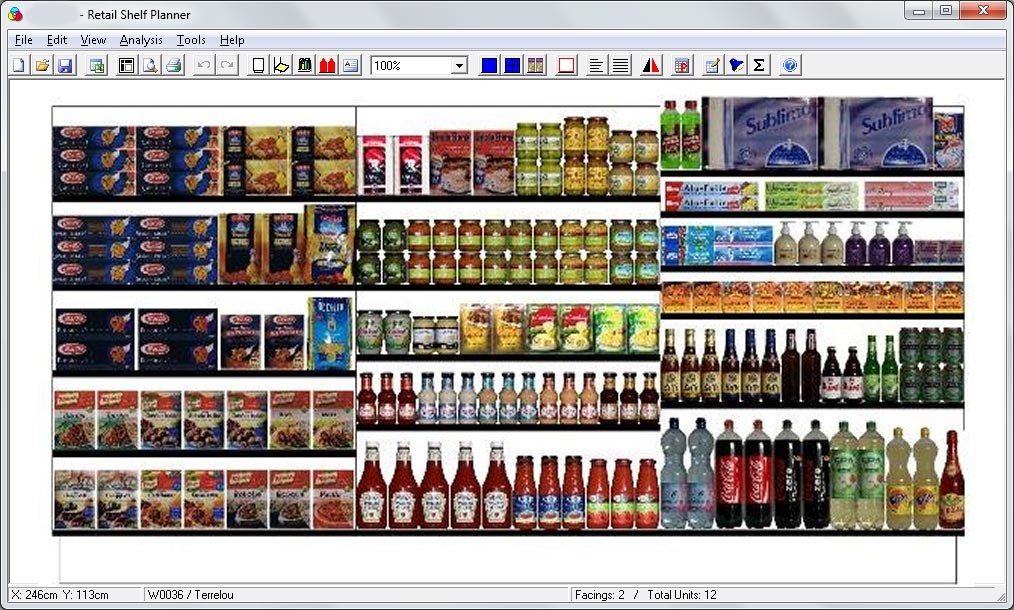
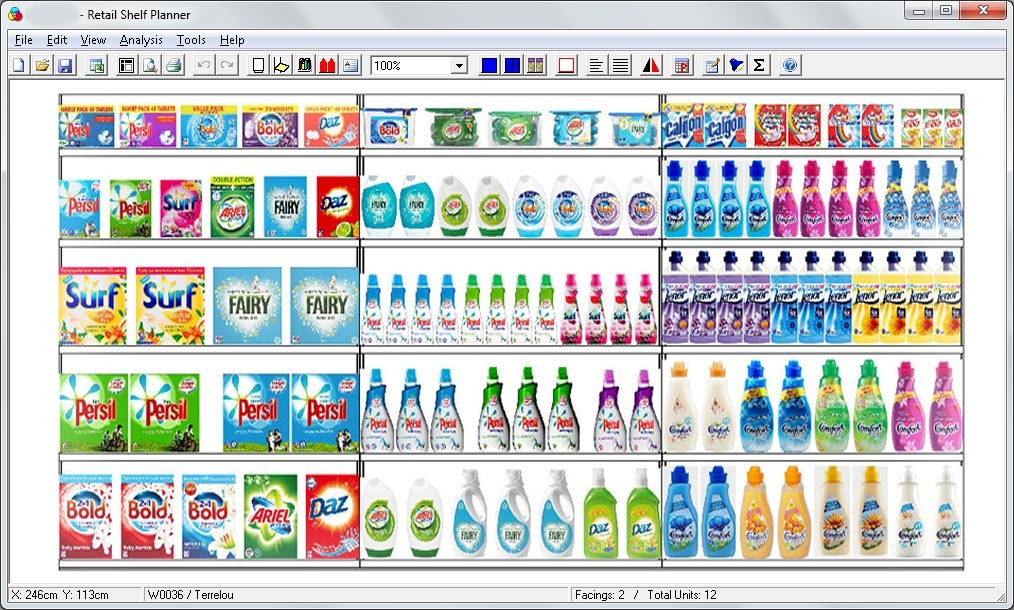
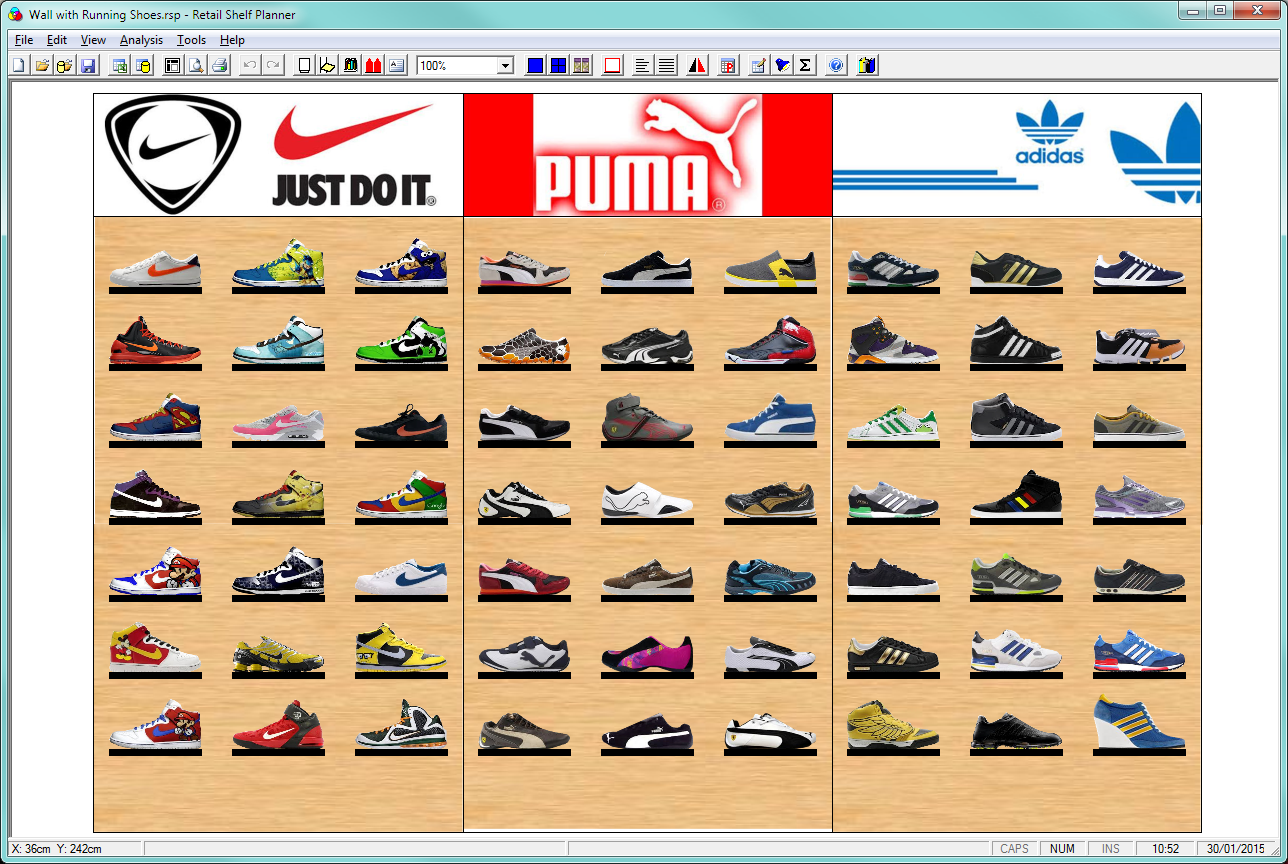
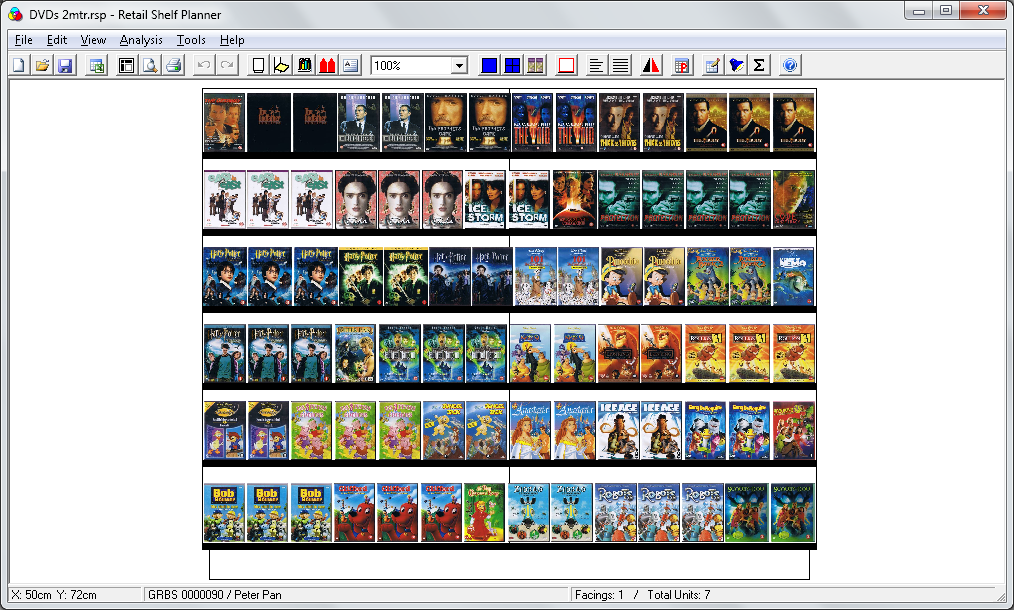
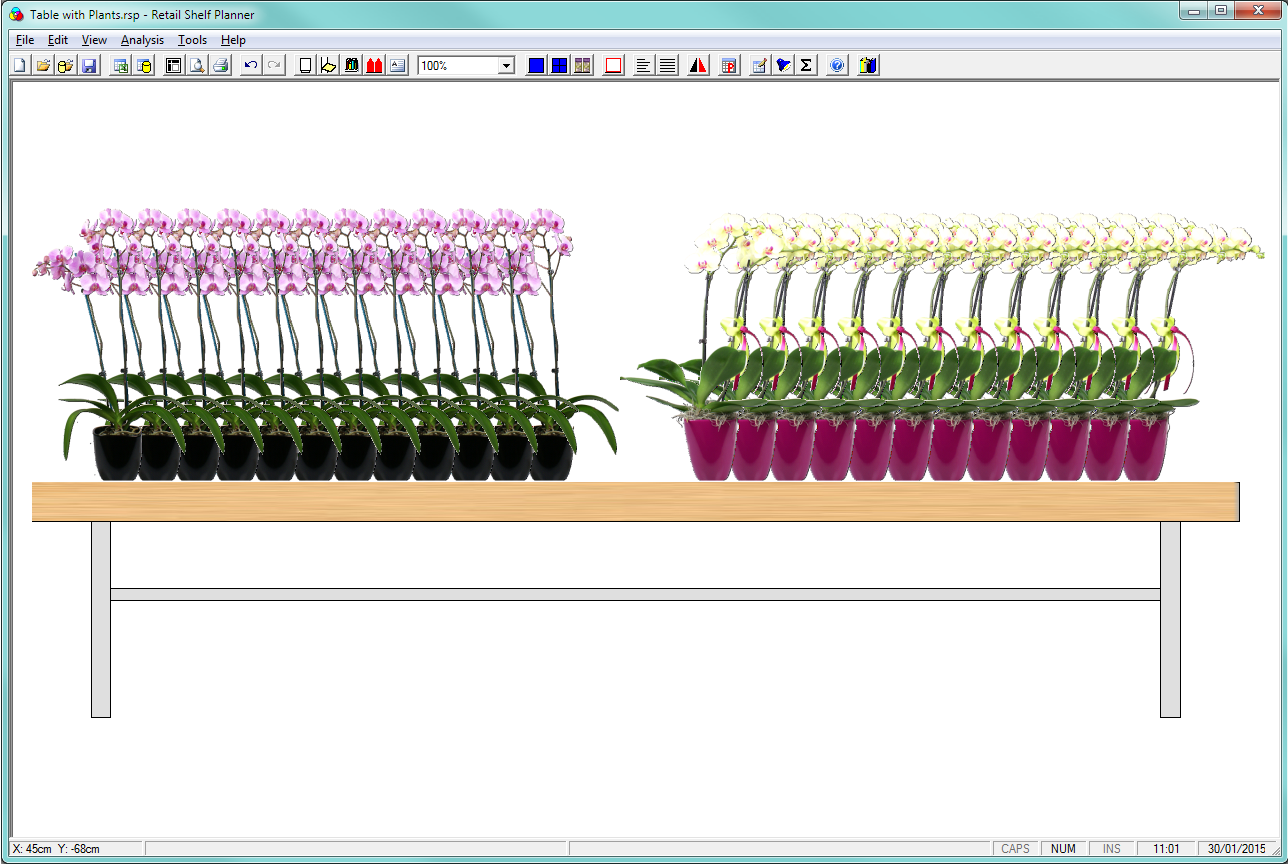
As you rarely get the opportunity to recommend completely new planograms to a retailer, it's more often the case you can give feedback on minor changes to improve performance. A planogram tool can be very useful in this regard. There are many tools available on the market depending on your budget but we highly recommend Retail Shelf Planner it's both easy to use and competitively priced.
Leave a Reply